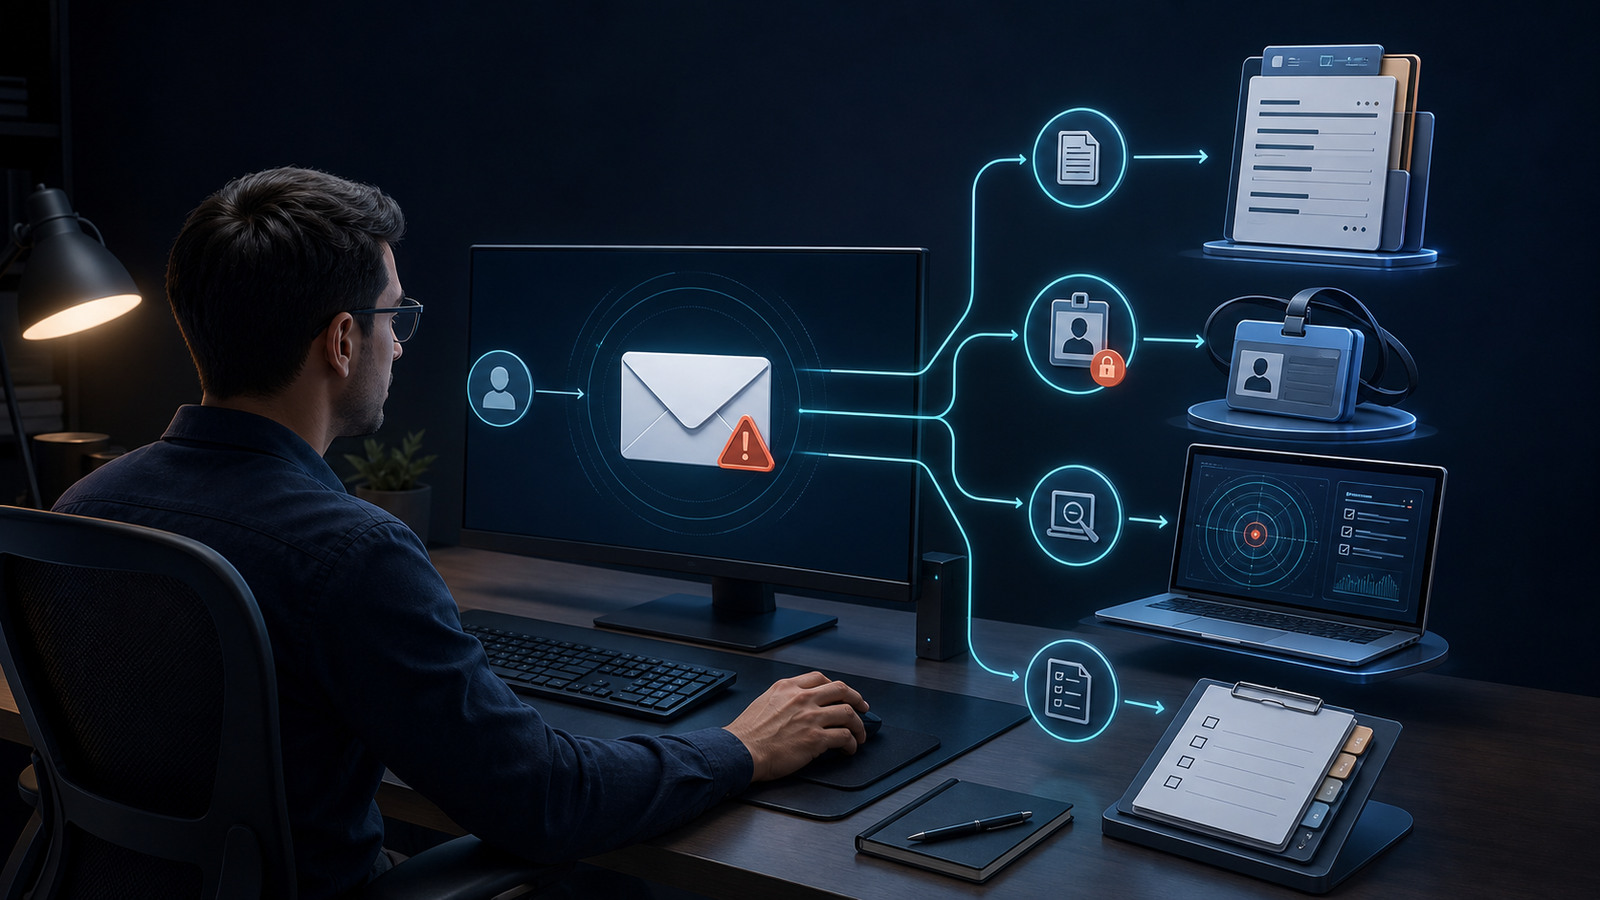
The short version: when a user reports a phishing email, find out what they did, preserve the message, contain any exposed account or device, search for wider impact, and document the result. Do not tell them to delete everything before security can inspect it. Do not click the link yourself. And do not treat “I entered my password” like “I only opened the email.”
This phishing email response checklist is built for help desk and IT support teams. It covers the first response, not a full digital forensics investigation. Your job is to collect clean facts, take the safe actions your role allows, and escalate fast when the report becomes an incident.
Start with one question: what did the user do?
The same suspicious email can create very different tickets. Ask the user which of these best describes what happened:
| User action | Initial risk | First response |
|---|---|---|
| Saw the email but did not open it | Low | Preserve and report the message |
| Opened the email only | Usually low | Confirm no link, attachment, or reply interaction |
| Clicked a link but entered nothing | Medium | Capture URL/time, check browser and endpoint alerts |
| Entered a password or MFA code | High | Reset credentials, revoke sessions, escalate |
| Opened or ran an attachment | High | Isolate the endpoint and escalate |
| Replied with business or personal data | High | Identify exposed data and notify security/privacy owners |
| Approved an unexpected MFA prompt | Critical | Contain the account immediately |
| Sent money, gift cards, or changed banking details | Critical | Contact finance/security through known channels |
Ask direct, neutral questions: Did you click? Did a browser open? Did you type anything? Did you approve a prompt? Being calm gets better answers than making someone feel stupid.
The phishing email response checklist
1. Capture the report without spreading the message
Collect the basics before the email disappears:
- Reporting user’s name, device, location, and contact method.
- Time the message arrived and time it was opened or reported.
- Sender display name and full sender address.
- Subject line.
- Claimed company or person.
- Whether the user clicked, replied, downloaded, opened, signed in, paid, or approved MFA.
- Any error, login page, file name, phone number, or QR code shown.
Use your organization’s report-phishing button, security mailbox, or message-submission process. Normal forwarding can strip headers or expose another person to the bait. Screenshots help with quick triage, but the original message and headers are better evidence.
2. Tell the user what not to do
Give a short instruction while you investigate:
Stop interacting with the message. Do not click it again, reply, forward it to coworkers, scan its QR code, or delete it until we confirm the next step.
If the user entered credentials or ran a file, add:
Leave the device powered on and available. If we ask you to disconnect it, do not reconnect until IT or security clears it.
Do not ask the user to reproduce the problem. Phishing is one ticket where “show me exactly what you clicked” can make the incident worse.
3. Preserve useful evidence
Preserve what your tools and policy allow:
- Original email with full headers.
- Message ID and mail trace details.
- Sender and reply-to addresses.
- URLs without browsing to them from your normal workstation.
- Attachment name, type, and hash if your security tooling provides it.
- Screenshot of the message and fake login page, if already available.
- Exact timestamps for click, sign-in, MFA prompt, reply, or attachment execution.
- Alerts from email security, endpoint protection, identity, DNS, proxy, or browser tools.
Do not paste a live malicious URL into a public chat or shared ticket title. Defang it according to your team’s process or store it in the restricted incident record.
The Security+ phishing practice questions explain common attack types. In a real ticket, classification is useful, but containment matters more than debating whether a targeted executive email is technically spear phishing or whaling.
4. Choose the response lane
Lane A: message received, no interaction
If the user only received or viewed the email:
- Submit the original message for analysis.
- Check whether the mail security tool already classified it.
- Search for matching sender, subject, message ID, URL, or attachment across other mailboxes if you have access.
- Block or purge it using the approved email-security process.
- Tell the user when it is safe to delete the local copy.
Opening a plain email is not automatically a compromised device. Avoid dramatic actions without evidence.
Lane B: link clicked, no information entered
A click deserves more review, but it does not prove account compromise.
- Record the URL and click time.
- Check endpoint, browser, DNS, proxy, and secure-email alerts.
- Ask whether a file downloaded or a permission prompt appeared.
- Confirm the user entered no password, MFA code, payment data, or other information.
- Escalate if the destination delivered a file, exploited the browser, or triggered an alert.
Do not visit the URL yourself from your daily browser. Use the security team’s analysis tools or pass it to the people who have them.
Lane C: password, MFA code, or approval exposed
Treat the account as potentially compromised.
- Verify the user’s identity through an approved channel.
- Reset the exposed password.
- Revoke active sessions and refresh tokens.
- Review and remove unfamiliar authentication methods.
- Check recent sign-ins, mailbox rules, forwarding rules, delegates, and app consent.
- Require MFA re-registration if policy calls for it.
- Escalate suspicious activity to security.
- Test the user’s legitimate access after containment.
If an unexpected MFA prompt was approved, act even if the user never typed a password into the phishing page. The attacker may already have valid credentials. Use the MFA reset checklist for identity verification, method cleanup, and sign-in testing.
Lane D: attachment opened or code ran
Potential malware belongs in the endpoint incident lane.
- Isolate the device using endpoint tooling, or have the user disconnect network access if that is your approved procedure.
- Do not power it off unless security directs you to; volatile evidence may matter.
- Record the attachment name and what appeared after it opened.
- Check endpoint detection alerts and process activity.
- Escalate to security or the endpoint team.
- Identify any credentials used on the device after execution.
- Do not reconnect or reimage until the incident owner approves the next step.
A Word document that was previewed, a spreadsheet that prompted for macros, and an executable that ran are not the same event. Capture the exact behavior.
Lane E: money or sensitive data sent
Business email compromise can become a financial incident quickly.
- Contact finance through a known phone number or internal channel.
- Stop pending payments or banking changes if possible.
- Preserve invoices, account details, conversation history, and approval records.
- Notify security and the appropriate privacy/legal contact.
- Identify exactly what data was disclosed.
- Do not continue negotiating with the attacker.
5. Check for wider impact
One report may be the first visible copy of a larger campaign. Search within the tools and permissions available to you:
- Did other users receive the same sender, subject, URL, or attachment?
- Did anyone else click or submit credentials?
- Are there new inbox rules, forwarding addresses, delegates, or OAuth grants?
- Are there unfamiliar sign-ins or related security alerts?
If multiple users are affected, stop treating it as a single-user ticket. Link related reports to the incident and let the incident owner coordinate organization-wide messaging and cleanup.
For a structured way to think through containment and recovery decisions, use the Security+ incident response practice questions. The exam terminology is less important than keeping the order straight: identify, contain, eradicate, recover, and document.
6. Close the loop with the user
Tell the user what happened in plain language:
- Whether the message was confirmed malicious, suspicious, or legitimate.
- What IT changed on their account or device.
- Whether they need to reset anything, re-enroll MFA, or monitor an account.
- Whether the device is cleared for use.
- What to report if they notice unexpected prompts, sent mail, rules, or sign-ins.
Thank them for reporting it. You want users to report the next message quickly, not hide it because the last response felt like an interrogation.
Copyable phishing ticket notes
User reported email without clicking
User reported suspicious email with subject “[subject]” from “[sender]” at [time]. User confirmed they did not click links, open attachments, reply, scan the QR code, or enter information. Original message submitted through [reporting tool] with headers preserved. Searched [mail/security tool] for matching sender/subject and found [number] additional copies. Message [blocked/purged/escalated] under incident [ID]. User advised not to interact and notified when safe to delete.
User entered credentials
User clicked reported phishing link at [time] and entered [password/MFA code]. Identity verified through [approved method]. Password reset, active sessions revoked, and MFA methods reviewed. Checked sign-in activity, mailbox rules, forwarding, delegates, and app consent; found [result]. Escalated to [security queue/incident ID]. User successfully tested legitimate sign-in and was told to report unexpected prompts or activity immediately.
For more note patterns, use the help desk ticket notes examples.
Common mistakes that make phishing incidents worse
Telling every user to delete the email immediately
Deletion can remove evidence and make organization-wide searching harder. Preserve and submit first. Purge centrally when your process supports it.
Clicking the link to verify it is bad
Your normal workstation is not an analysis sandbox. The link may fingerprint visitors, exploit a browser, or confirm to the attacker that the target is active.
Resetting a password but leaving sessions active
A password reset alone may not evict an attacker with a valid session token. Review your identity platform’s session-revocation and account-containment procedure.
Writing “phishing resolved” as the entire ticket
Good notes state what the user did, what evidence was preserved, what was searched, what controls changed, what was tested, and where the incident was escalated.
Mixing email trouble with a security report
If Outlook is not syncing, use the email troubleshooting checklist. If the message is trying to steal access, money, or data, use the security workflow. A suspicious message is not fixed by recreating the Outlook profile.
Quick runbook
- Ask exactly what the user clicked, opened, entered, approved, sent, or paid.
- Tell them to stop interacting with the message.
- Preserve the original email, headers, URLs, files, and timestamps.
- Classify the event: no interaction, click, credential exposure, code execution, or data/payment loss.
- Contain the affected account, device, or payment process.
- Search for other recipients and related activity.
- Escalate anything beyond your role or procedure.
- Test legitimate access only after containment.
- Document actions and communicate the result.
FAQ
Should a user disconnect from the network after clicking a phishing link?
Not automatically for every click. If malware executed, a file opened, endpoint protection alerted, or security procedure requires isolation, disconnect or isolate the device. For a simple click with no download or alert, preserve the details and follow your risk-based process.
Is opening a phishing email enough to compromise a computer?
Usually not by itself, especially with modern mail clients, but “usually” is not proof. Ask whether the user clicked remote content, followed a link, downloaded a file, opened an attachment, or accepted a prompt. Check security alerts before declaring it clean.
What if the user entered a password but changed it immediately?
Still report and investigate it. Revoke sessions, review authentication methods and sign-ins, and check for mailbox or app persistence. A quick password change helps, but it does not prove the attacker never signed in.
Bottom line
A clean phishing response is mostly disciplined basics: ask what happened, preserve evidence, contain the right thing, look for a wider campaign, and leave notes someone else can use. The user who reports quickly is helping you. Make the process safe enough that they do it again.
Want more practical support workflows without the vendor brochure voice? Join the This Is an IT Support Group newsletter from the homepage for useful IT career and help desk guidance.